The world of healthcare is a beautiful thing when you’re focused on healing patients and improving lives. However, behind every successful treatment and every prescription, there is a complex administrative engine running in the background. That engine is known as the revenue cycle, and at its heart lies the medical billing process.
Step 1: Patient Registration (The Information Foundation)
The journey doesn’t start when the doctor walks into the exam room; it starts at the front desk or over the phone. When a patient schedules an appointment, the registration process begins.
This is the most critical stage for data integrity. Staff collect demographic details full name, address, date of birth and insurance information. Even a tiny typo here, like a misspelled middle name or one wrong digit in a policy number, can lead to a patient not found denial 30 days later.
Think of this as laying the foundation of a building; if it’s crooked, everything built on top of it will eventually lean.
Step 2: Insurance Verification & Eligibility
Just because a patient has a plastic insurance card doesn’t mean their coverage is active that day. This step is about confirming three things:
- Is the policy active?
- Is the service covered?
- Is prior authorization required?
Verifying eligibility before the patient is seen is the single best way to prevent unpaid claims. It also allows the practice to inform the patient of their co-pay or deductible upfront, which helps with transparency and trust.
Step 3: Clinical Documentation (The Proof)
During the encounter, the physician or provider records everything. They document the patient’s history, the symptoms, the physical exam, and the final diagnosis and plan.
In the world of billing, there is a golden rule: If it isn’t documented, it never happened.
Documentation serves as the legal and clinical proof that the services billed were medically necessary. If an insurance company decides to audit a claim, they will look at these notes first.
Step 4: Medical Coding (The Translation)
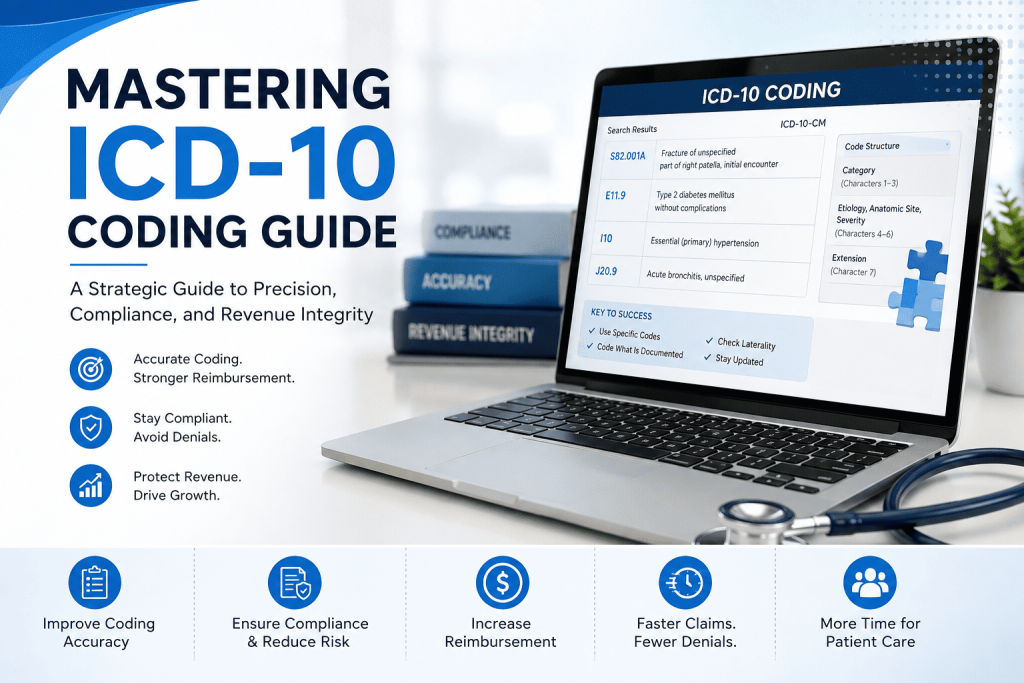
Now we move into the technical heart of the process. Medical coders take the doctor’s narrative notes and translate them into standardized alphanumeric codes.
- ICD-10-CM codes represent the diagnosis (the “Why”).
- CPT or HCPCS codes represent the procedures, tests, or supplies (the “What”).
This translation is vital because insurance software doesn’t read sentences; it reads codes. Accuracy here is paramount.
If the codes don’t match for example, billing for a cast without a diagnosis of a fracture the claim will be rejected immediately.
Step 5: Charge Entry
Once the codes are finalized, they are entered into the billing system alongside the practice’s fee schedule. This step creates the superbill or the electronic record of the charges.
At this stage, billers ensure that any modifiers or extra codes that explain special circumstances, like a procedure performed on the left versus the right side, are correctly attached.
Step 6: Claim Scrubbing (The Quality Filter)
Before the claim is sent to the insurance company, it goes through a scrubbing phase. This is essentially a high-tech audit.
Professional billing software and experienced human billers check the claim for common errors: missing signatures, invalid ZIP codes, or incompatible code combinations.
The goal is a clean claim one that is so accurate that the insurance company has no reason to deny it.
Step 7: Claim Submission
Now the claim is ready for the clearinghouse. A clearinghouse is a middleman that takes the claims from the doctor’s office, formats them to meet the specific requirements of each different insurance company, and transmits them electronically.
If the clearinghouse finds an error, they reject it back to the biller for a quick fix before it ever reaches the payer.
Step 8: Claim Adjudication (The Payer’s Review)
Once the claim hits the insurance company’s desk, it enters adjudication. This is where the payer decides how much they owe.
They check if the patient was covered on the date of service, if the provider is in-network, and if the procedure followed their specific medical policies.
They will ultimately return one of three answers:
- Paid: They agree with the claim and send payment.
- Denied: They refuse to pay for a specific reason.
- Rejected: There is a technical error that needs fixing.
Step 9: Payment Posting & ERA
When the payment arrives, it’s accompanied by an Electronic Remittance Advice (ERA) or an Explanation of Benefits (EOB).
This document tells the biller exactly what was paid, what was written off according to the contract, and what the patient still owes.
The billing team posts these numbers into the practice management system to balance the books.
Step 10: Denial Management & Appeals
This is where many practices lose money. If a claim is denied, it shouldn’t just be forgotten.
A dedicated billing team will investigate the denial code, gather more documentation, and file an appeal. Chasing these lost dollars is what separates a struggling practice from a thriving one.
Step 11: Patient Collections
The final step is billing the patient for their portion usually the deductible, co-insurance, or co-pay that the insurance didn’t cover.
Clear, easy-to-read statements are sent out, and once the patient pays, the lifecycle for that specific visit is finally complete.
Elevate Your Practice with GoSourceMD
Understanding the Medical Billing Process Step by Step is important, but managing it every day while trying to treat patients is an entirely different challenge. It requires a level of precision and time that most medical professionals simply don’t have.
This is exactly why GoSourceMD exists.
We believe that doctors should be doctors, not debt collectors or data entry clerks. At GoSourceMD, we take this entire 11-step process and handle it with elite precision.
From the moment your patient checks in to the moment the final payment is posted, our team of expert billers and coders is working behind the scenes to maximize your revenue and minimize your stress.
Our mission is to ensure that no dollar is left on the table. We don’t just process claims; we advocate for your practice. We tackle the denials, we stay on top of the changing regulations, and we provide you with the transparent reporting you need to see your practice grow.
Your focus should be on the patient in the room. Our focus is on the claim in the system. Together, we ensure the health of your patients and the health of your practice.
— The GoSourceMD Team
Ready to Streamline Your Revenue Cycle?
Let’s get you paid. Visit www.GoSourcemd.com today and see the difference that expert billing can make.
Quick Guide & FAQs: Medical Billing Process Step by Step
1. What is the medical billing process?
The medical billing process is the cycle of steps healthcare providers use to submit and follow up on claims with health insurance companies to receive payment for services. It typically involves patient registration, insurance verification, medical coding, claim submission, payment posting, denial management, and follow-up.
2. How long does the medical billing cycle take?
For an electronic clean claim, the process usually takes 15 to 30 days. However, if a claim is denied and requires an appeal or additional documentation, the process can extend to 60 or 90 days depending on the payer and complexity of the issue.
3. Why are medical claims often denied?
Common reasons for claim denials include incorrect patient information, lack of prior authorization, late filing, coding errors, missing documentation, and medical necessity issues where the diagnosis does not support the procedure code.
4. What is the difference between medical billing and medical coding?
Medical coding is the process of translating clinical documentation into standardized codes such as ICD-10, CPT, and HCPCS. Medical billing uses those codes to create and submit claims to insurance companies, track claim status, manage payments, and help ensure the healthcare provider receives reimbursement.